Introduction
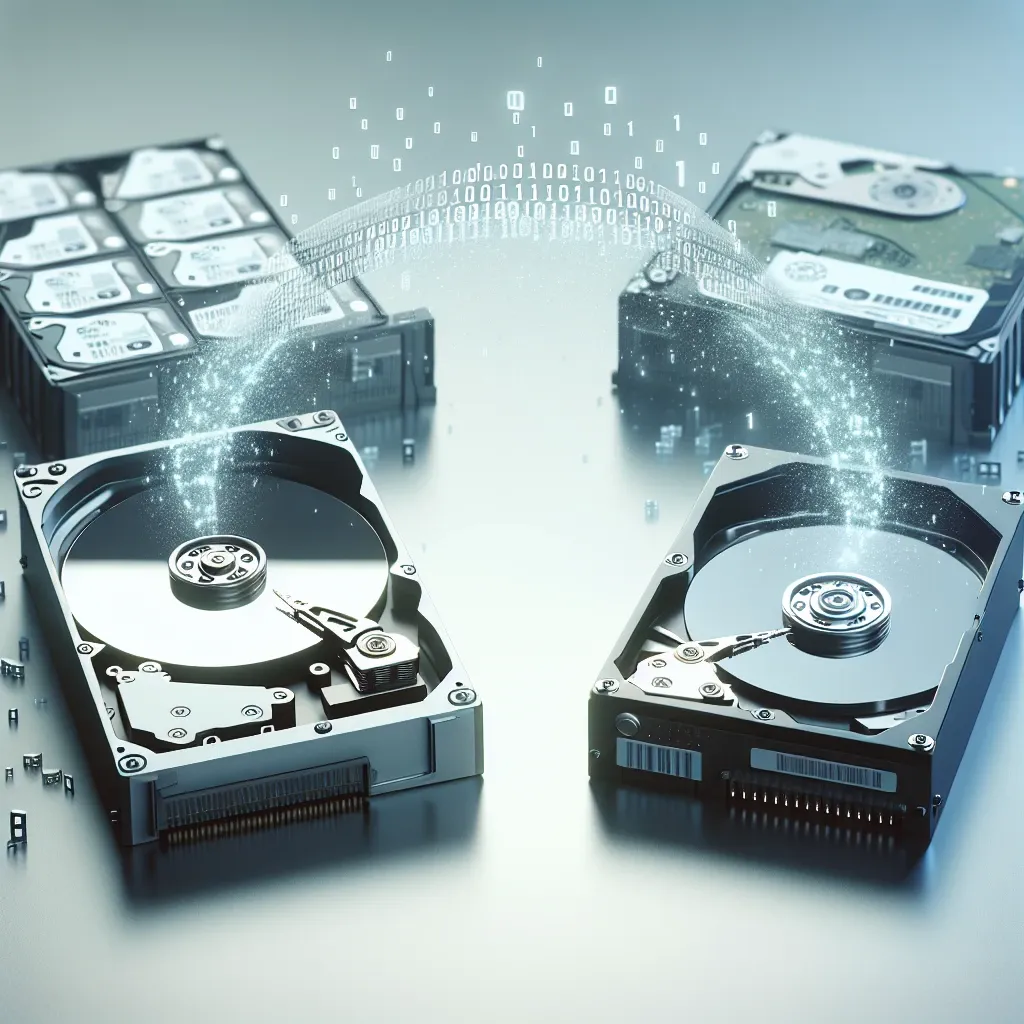
Transferring the contents of one hard drive to a new hard drive can seem daunting, but with the right tools and steps, it can be a straightforward process. Whether you’re upgrading to a larger drive or backing up your data, this guide will walk you through the necessary steps to ensure a successful transfer.
Preparation Steps
Before you start transferring data, make sure you have everything you need. This includes the new hard drive, a computer, and the necessary cables or adapters to connect both drives to your computer simultaneously.
Equipment Needed
- New Hard Drive: Ensure it has enough capacity to hold all the data from the old drive.
- Data Cable/Adapter: SATA/USB adapters may be necessary to connect both drives at the same time.
- Cloning Software: Software like Clonezilla, Macrium Reflect, or AOMEI Backupper can make the transfer process easier.
- Screwdriver: If you need to remove the old hard drive from a laptop or desktop.
Step-by-Step Guide
Step 1: Connecting the Drives
First, you need to connect both the old and new hard drives to your computer. Use the appropriate data cables or adapters to connect them.
For Desktop: Typically, you’ll have enough SATA ports and power cables inside your case.
For Laptop: You may need an external SATA to USB adapter to connect the drives if your laptop only has one internal slot.
Step 2: Installing Cloning Software
Next, you’ll need to install reliable cloning software. Here are a few popular options:
| Software | Description |
|---|---|
| Clonezilla | Open-source option with robust features for advanced users |
| Macrium Reflect | Free and paid versions; user-friendly interface |
| AOMEI Backupper | Comprehensive tool with user-friendly options; supports cloning and backup |
Step 3: Running the Cloning Software
Open the cloning software you installed and select the option to clone a disk. You will typically have the choice to clone the entire disk or select specific partitions. For a complete transfer, choose the entire disk option.
Steps in the Cloning Software:
- Select the source disk (the old hard drive).
- Choose the destination disk (the new hard drive).
- Begin the cloning process. This may take some time, depending on the amount of data being transferred.
Post-Clone Checks
Once the cloning process is complete, it’s important to verify that all data has been copied correctly. Unplug the old hard drive and boot your computer from the new hard drive.
Verifying Data:
- Check that your operating system boots correctly.
- Ensure that all files and applications open as expected.
- Run a disk check utility to find any potential issues.
Common Issues and Troubleshooting
Even with the best preparations, sometimes issues can arise. Here are a few common problems and how to resolve them:
Boot Failure
If your computer doesn’t boot from the new drive, ensure it is set as the primary boot device in the BIOS settings.
Cloning Errors
Ensure that there’s no damage to the hard drive and that all connections are secure. Sometimes, using a different data cable or port can solve this issue.
Conclusion
Copying the contents of one hard drive to another can be done efficiently with the right tools and steps. By following this guide, you can successfully transfer your data and enjoy the benefits of your new hard drive. Remember to regularly back up your data to prevent future data loss.

